Stats: From Federal Gulch CG; approx 6 miles, 3,500ft to summit elevation 11,027ft and 6hr round trip. Route; south slope/south ridge. 50 degree snow climb.
I was looking for a spring snow climb with some elevation and I found Jacqueline Peak. This can also be done without snow and is rated class 3. The route can be shortened by driving farther up the East Fork Road with a high clearance vehicle, or riding a mountain bike from Federal Gulch campground. I spent the night at the campground and got an alpine start to get the best snow conditions.
Jacqueline Peak south slopes.
It was totally dark when I left on foot and my timing worked out well. I reached the base of the peak just as the sun was coming up.
Alpenglow.
I had to stop for a while to get some pictures of this beautiful alpenglow. It did take some time to get the best pictures, but it was worth totally it.
Grays Peak.
The route is very straight forward and it gains elevation quickly.
Looking down the south slopes.
This would be a great ski descent.
Looking west.
There are many peaks in this area that can be reached from the East Fork Road.
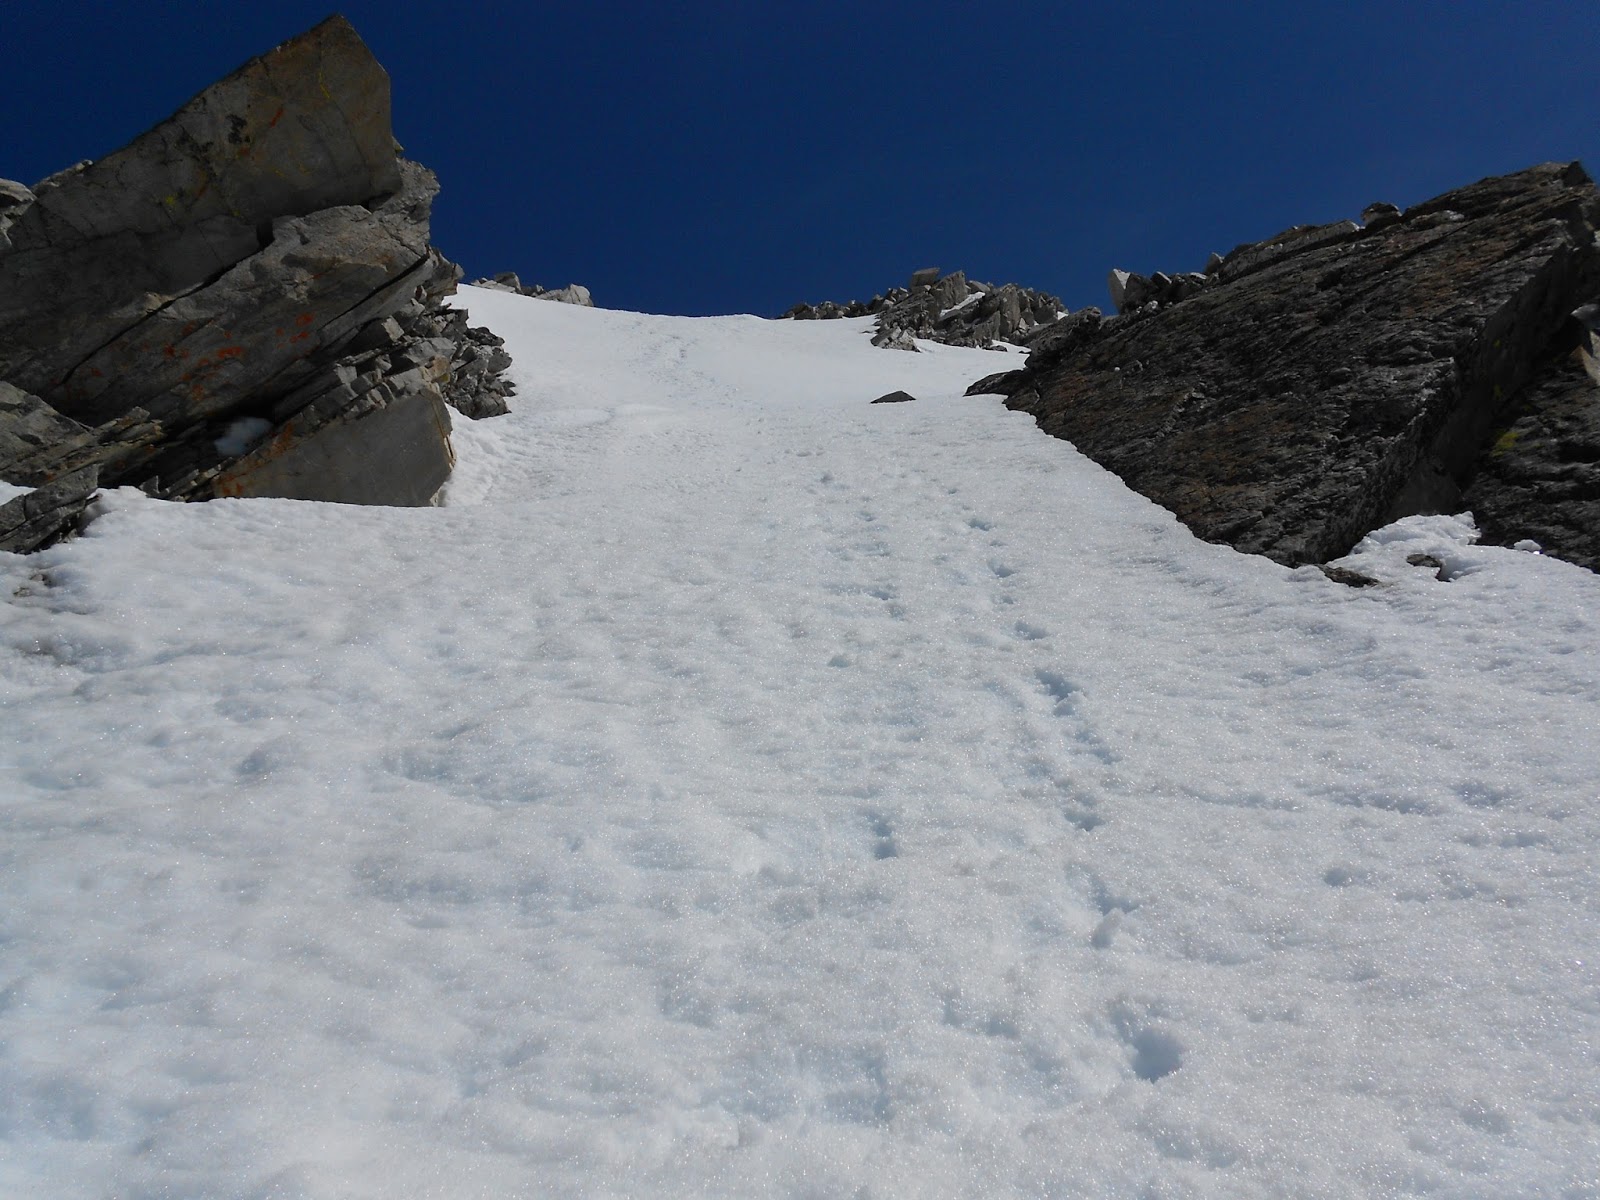
Looking up the south slope.
Climbing on snow was cruiser. Instead of dealing with the talus, it was an easy uphill hike.
Looking down.
The upper part of the route I did was a mix of large talus, firm snow and a couple chutes that made for really fun climbing, both up and down.
Summit ridge.
I kept to the upper edge of the talus to avoid any cornices. Looking back on the ridge I could see that it was in fact corniced. I proceeded with caution below the snow.
Looking down the ridge.
Near the summit.
I would totally go back and do it as a class 3 climb. I bet the view would be better too since you could follow the spine of the ridge instead of being ten feet below it.
Johnstone Peak.
I got a great aerial view of Johnstone Peak.
Near the summit.
The ridge to the summit was funky with the cornices. I removed my crampons and stuck to the rock.
Cornice.
Whoa mama! Now that's a cornice!
Grays Peak from the summit.
There was enough of a snow cap/cornice on the top that I stopped at the edge of the rocks. GPS indicated my altitude was consistent with the summit elevation. I didn't find any markers or a register among the rock. I didn't dig or venture out onto the cornice.
McIntyre Peak.
Looking SE at a sea of peaks.
The summit was sunny and windless, but cold. I soaked in the views for a while before starting down.
A few feet below the summit selfie.
A few feet below the summit, I had to stop and take that all important summit shot that I forgot on top.
Looking down.
The south slopes are wide open and many lines are possible.
Looking back up one of the chutes.
The snow was now noticeably softer, so that meant I had to get moving.
Long glissade.
For my descent, I went over to the more open slopes, east of the ridge. Down lower where the slopes were steep and had a clear run-out made for excellent seat glissading. Near the snowline was miserable post-hole hell into the brush.
Red = ascent. Yellow = descent.
There are many options for climbing this peak, including an approach from the north from Big Basin. A really neat option would be to traverse the ridge that connects to McIntyre Peak. That would get you two 11ers in one climb.
Walking back to the car.
The day had heated up and I wished I had packed some sorts for the hike back to the car.
Johonstone Peak in the Pioneer Mountains makes for a great snowshoe trip and could be accessible when many other peaks are not. I left Boise at 04:30 and was able to drive to within about a half mile of where I intended to park on Hyndman Creek Road and started up the hillside to the south ridge.
The route is straight forward but not without steep slopes.
Johnstone Peak.
Johnstone Peak.
Cobb Peak.
The view of Cobb Peak was a real treat. It immediately jumped up to near the top of my list.
South Ridge.
The route is mostly visible to the summit, which is also neat.
Pioneer Trio.
False summit.
Wet slide.
Warm overnight temperatures were evident with wet slide activity noted on solar aspects.
Hyndman, Old Hyndman and Cobb.
About half way to the top, the Pioneer Trio comes into view.
More false summits.
There are a few false summits on the ridge.
Highpoint.
The snow had not froze down low, so post-holes were tiresome. Higher up, the snow was firm and in some places bullet proof. The final slope to the summit came into view and went without much trouble.
DBW and DBE.
Clouds rolled in and out, but didn't produce any precipitation.
The clouds broke to the north long enough to make out Devil's Bedstead West and DBE.
Summit.
Cornice failure.
After just enough time to get some pictures and eat, I got focused on the descent.
There was plenty of evidence to remind me that nature was in control. I decided to bypass the rest of the cornices on the way down.
Cobb.
On descent.
Skirting around most of my tracks from the way up added a little more distance, but I was okay with that.
Grays Peak.
Descent into Bear Gultch.
Pio's from the road.
Lower on the ridge the sun was out and the day was warm. Then I got to experience a real treat; post-holing up to my thighs with snowshoes on. I dropped off the ridge and into Bear Gulch and eventually I made it back to the car. I was a little soggy from the deep wet snow and running water in the creek, but I was in one piece for the drive home with sore legs and a big smile.
Stats: Idaho's highest peak is class 3 via the Southwest "Chicken Out Ridge" route with a 5,500ft gain to summit elevation 12,662 in 3.5 miles one way.
Gear notes: Didn't need an ice ax and should have worn my helmet.
Well, the day had finally come. I had a good weather window during time I could get away to make the trip. My attempt of Borah Peak was happening. I was anxious, but eager when I turned down Birch Springs Road headed for the camp ground. I had been training on the local peaks, but I hadn't done anything big yet this year. Clearly, I had my work cut out for me.
I had read all of the info I could find on the peak and I had the crucial landmarks memorized. I had trained hard and I felt ready. Now, all that was left to do was actually climb it.
Fault Scarp from the 1983 earthquake.
Since this was my first time to the camp ground, I didn't know what to expect, but I quickly took note of its heavy use. I got the camp site closest to the trailhead, which was a score, but it didn't (doesn't) have any shade. I also quickly took note that July on the west side of the Lost River Range sucks without shade. It's scorching hot until the sun goes down and after that it can get freezing cold.
Borah's shadow cast on the valley floor.
I was up and on the trail just before sunrise. It gets steep pretty much right away so it didn't take long until I needed to stop to shed a layer. I guess I held too quick of a pace because just about the time I was above the treeline I was struck with a massive headache and nausea likely attributed to dehydration and ascending too quickly. I dropped back down behind a tree, took some Ibuprofen, ate, drank and rested. I was okay with the view I had of Borah's shadow being cast on the valley floor. After 45 minutes I was felling better and back on the trail.
looking up from just above the tree line.
The lower route is steep but class 2 and the crux of the whole route is in the middle and considered to be Chicken Out Ridge. There had been some late season snowfall so I brought an ice ax for the narrow snow crossing.
Close up of Chicken Out Ridge.
I took short breaks often to make sure whatever I had going on earlier didn't come back and it seemed to be working. I was feeling fine as I approached the crux.
Approaching Chicken Out Ridge.
There were a few unoccupied bivy sites on the ridge, as well as fine views. This was my first trip into the Lost River Range and that necessitated a lot of pictures.
Looking down the southwest ridge.
Mount Idaho.
Mount Morrison.
V notch entrance to COR.
Approaching the base of COR, I aimed for the notch in the ridge.
Looking down the southwest ridge.
looking down the route from just below the crux assured one thing; perception is reality. It looks like a long ways down because it is.
Looking up COR.
The advise that I heard was stick to the spine of the ridge. My advise; stick to the spine of the ridge. The climbing was fun and the route was obvious. The rock was solid and the holds were good. There were actually two snow crossings on my climb and the first was a little less exposed. The down climb to the main snow crossing went without incident and was only about 15 feet.
Top of COR.
I got my ice ax out for the snow crossing because I had it. The crossing had a good path in the firm snow, but yes, a fall would suck.
Looking back at the top of COR.
Chicken Out Ridge had been passed, but I still had to climb up, then down it again to get down.
Upper route to the summit.
Once past the snow crossing the route went under point 11,898. From there the trail was braided to the summit. I started up the trail but chose to head towards the ridge. There were some loose blocks and I probably should have worn my helmet.
Nearing the summit.
The scramble up the ridge was fun and the rock got more stable near the summit.
Looking down the summit ridge.
There was quite a bit of exposure to climbers right heading up the ridge, but it was mitigated by staying just to the left.
I compiled a video from three shorter ones I took on the summit ridge.
The summit was a little chilly, but after the long way I had come to stand here, I was going to enjoy it.
2 down, 7 to go.
It was a fantastic introduction to the LRR.
Main crest of the LRR.
Seeing the main crest of the LRR for the first time was intimidating. (It still is)
Cornice on the summit.
Hyndman Peak.
From the top I was able to identify several peaks of the Lost River and Pioneer Mountains, including my old friend Hyndman Peak. I was humbled and elated at the same time.
Looking down at COR from the summit.
looking down the route snapped me back into reality. There was still a steep and arduous descent between me and my car. I followed the trail back to COR.
Looking down the SW ridge.
I had the summit to myself and was now passing a few others en route to the top. COR was a bit of a traffic jam so I sat tight and took some pictures while others got across.
Looking down COR about halfway across.
It might not have been the best idea, but I stopped in a few spots on COR to take a few pictures of it.
Once safely on the other side of COR, it was a steep, relentless and tiresome hike down. Tired legs meant a few slips here and there. Never the less, I made it down. It wasn't too late in the day and I headed to Challis for some fresh food. I drove back to the LRR to try to make it to the trail head and camp for Al West Peak the next day. That was when I learned that good maps and a high clearance vehicle are good things to have in this neck of the woods.
Borah Peak from Hwy 93.
Without a good plan B, I decided it was a better idea to just drive home. Borah Peak was finally crossed off my list. The other thing I learned on this trip was that it's hard to get out of the car when you can't stand up. I later discovered this had a name. Borah Legs.